In today’s fast-paced environment, it’s important to find the right balance between speed and quality. Improving cycle times while maximizing profits to repair vehicles to proper specifications is a goal more easily achieved with the right equipment and approach to each vehicle that enters the shop.
With that in mind, Chief recommends that every collision-damaged vehicle be thoroughly measured at three key steps of the repair journey:
- When estimating and blueprinting. Getting an accurate estimate of existing damage helps create an appropriate repair plan and timeline.
- During the repair process. Seeing the cause-and-effect of pulling out damage or replacing structural components allows for a more efficient repair when the changes are seen in real-time.
- When the repair is complete. A final printed measurement confirms proper repairs were made and the vehicle has been returned to OEM tolerances.
“Measure what is measurable, and make measurable what is not so.” – Galileo
There are three common computerized measuring systems available for identifying collision damage: ultrasound measuring, point-to-point measuring and laser-based Live Mapping™. Ultrasound systems use emitter probes attached to up to 12 specific points on a vehicle that send simultaneous signals to high-frequency microphones, record the measurements and show the damage. Point-to-point systems use a digital measuring arm that glides under a vehicle to take measurements along its path, one point at a time.
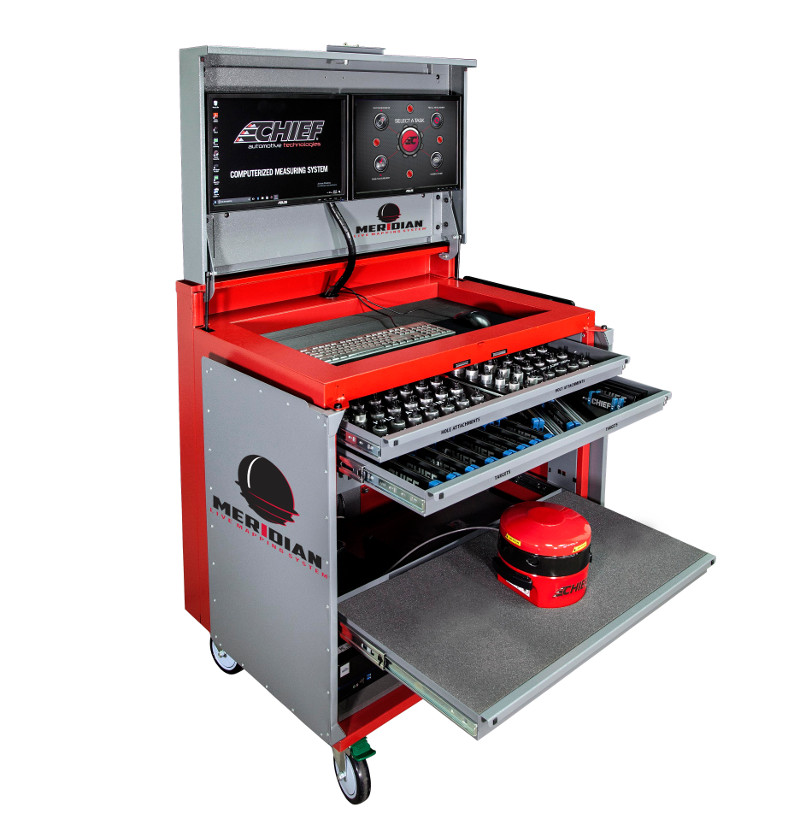
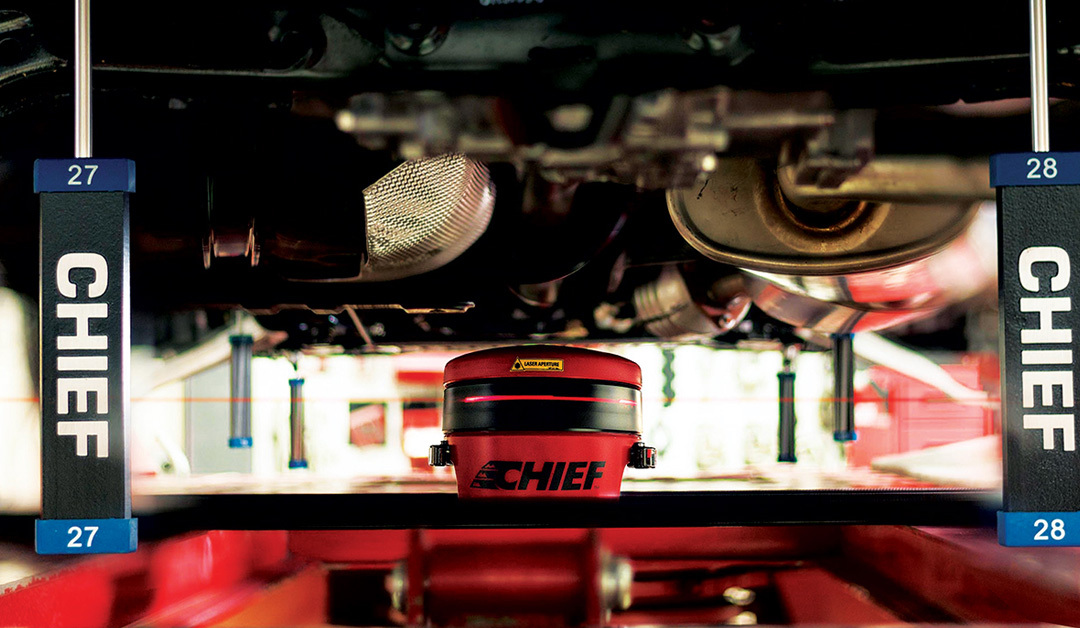
Laser systems — like the new Chief Meridian™ Live Mapping™ System with Galileo™ laser scanner — use a laser scanner to read targets that are placed on the underside of a vehicle to measure where and by how much the vehicle frame is out of alignment.
Ultrasound and point-to-point measuring systems aren’t as efficient as Live Mapping systems, as they use the slower process of measuring only one or a few points at a time. With these two options, technicians must spend valuable time re-measuring the vehicle after each pull. There’s also the human-error component – each measurement is taken only at the speed at which a technician works and must be taken from the exact same point and read in the exact same way. Even being off a few millimeters can affect the final output and leave the vehicle short of being returned to OEM specifications.
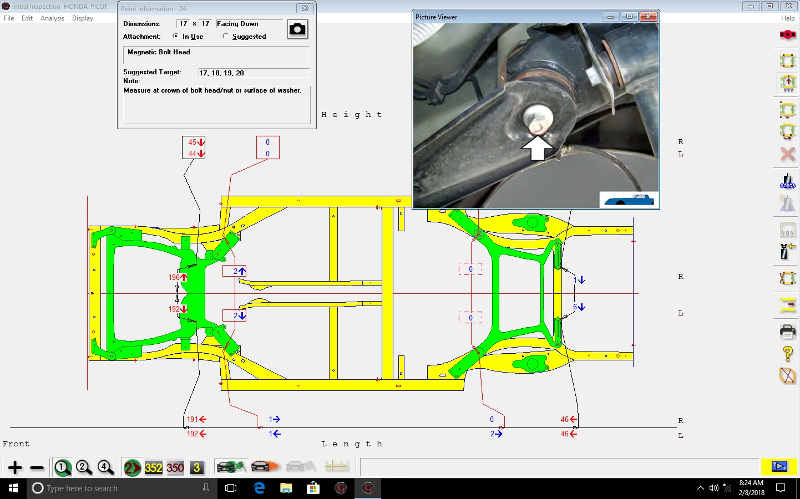
Live Mapping involves real-time measuring that monitors up to 45 reference points on a vehicle at the same time, highlighting to the technician all misalignment. The new Chief Meridian™ Live Mapping™ System with Galileo™ laser scanner makes measuring more accurate, robust, and easier to conduct than ever before. The Galileo scanner is constantly measuring all targets, even during pulling, so technicians can watch dimensional changes as they’re happening, eliminating the need to stop and re-measure and reducing the chance of putting more damage into the vehicle. With Live Mapping, it’s simple: Measure. Pull. Done.

Versatility is the name of the game
Meridian makes it easy to measure any kind of vehicle and the portable Galileo laser scanner can be used anywhere in the shop. Set up the scanner on a frame rack for efficient structural repairs then move it under a two-post lift or even onto the floor for a quick blueprinting job, freeing up the rack for another repair to keep a steady workflow through the shop. In addition to providing 3-D reports of existing damage, the system also can be used for measuring against the vehicle’s centerline or point-to-point.
The Galileo scanner utilizes high-powered laser technology to increase measurement length up to five meters, making it perfect to measure any vehicle on the road. The scanner features a single-hub design that delivers a 360-degree field of view with improved line of sight. The compact, ergonomic design is constructed from aerospace materials and thermal-resistant technology, along with Gorilla® Glass for added scratch protection, to provide increased durability and long life even in harsh shop environments.

Data-driven Repairs
Live Mapping is most efficient when paired with a vehicle specification subscription so technicians can call up the OEM specs of the vehicle being repaired, instead of simply measuring against the vehicle’s centerline. Chief offers an unmatched array of real-world vehicle specifications covering the last 50 years through its Thunderbolt product. Chief personnel at the company’s specification centers worldwide measure actual vehicles with the frame anchored and the suspension unloaded to provide “real world” data. Thunderbolt specifications are compatible with the Meridian Live Mapping and other computerized measuring systems.
Now’s the time to make the move to Live Mapping to ensure accurate, precise repairs and keep collision repair jobs moving efficiently through the shop to maximize profit.

